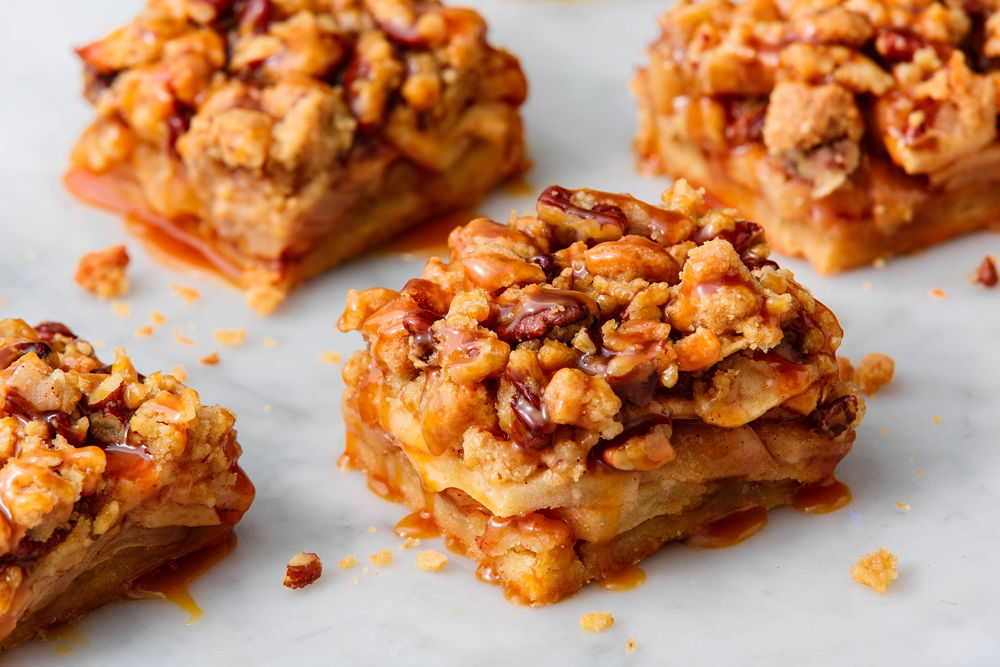
I just realized this while typing up this post – I make so many apple-based dishes! I don’t know why, but I absolutely love it when apples are baked or cooked into desserts. It’s come to a point where I rarely eat apples on their own. Whenever there are apples lying around in my home, I would chop them up and add them to pies, tarts or cakes. Which is how this apple custard tart recipe was born. I decided to make a standard custard tart, but I ended up adding apple slices to it. And it tasted so good! The addition of apple slices gives a really nice texture to the tart and the flavour is very reminiscent of fall.
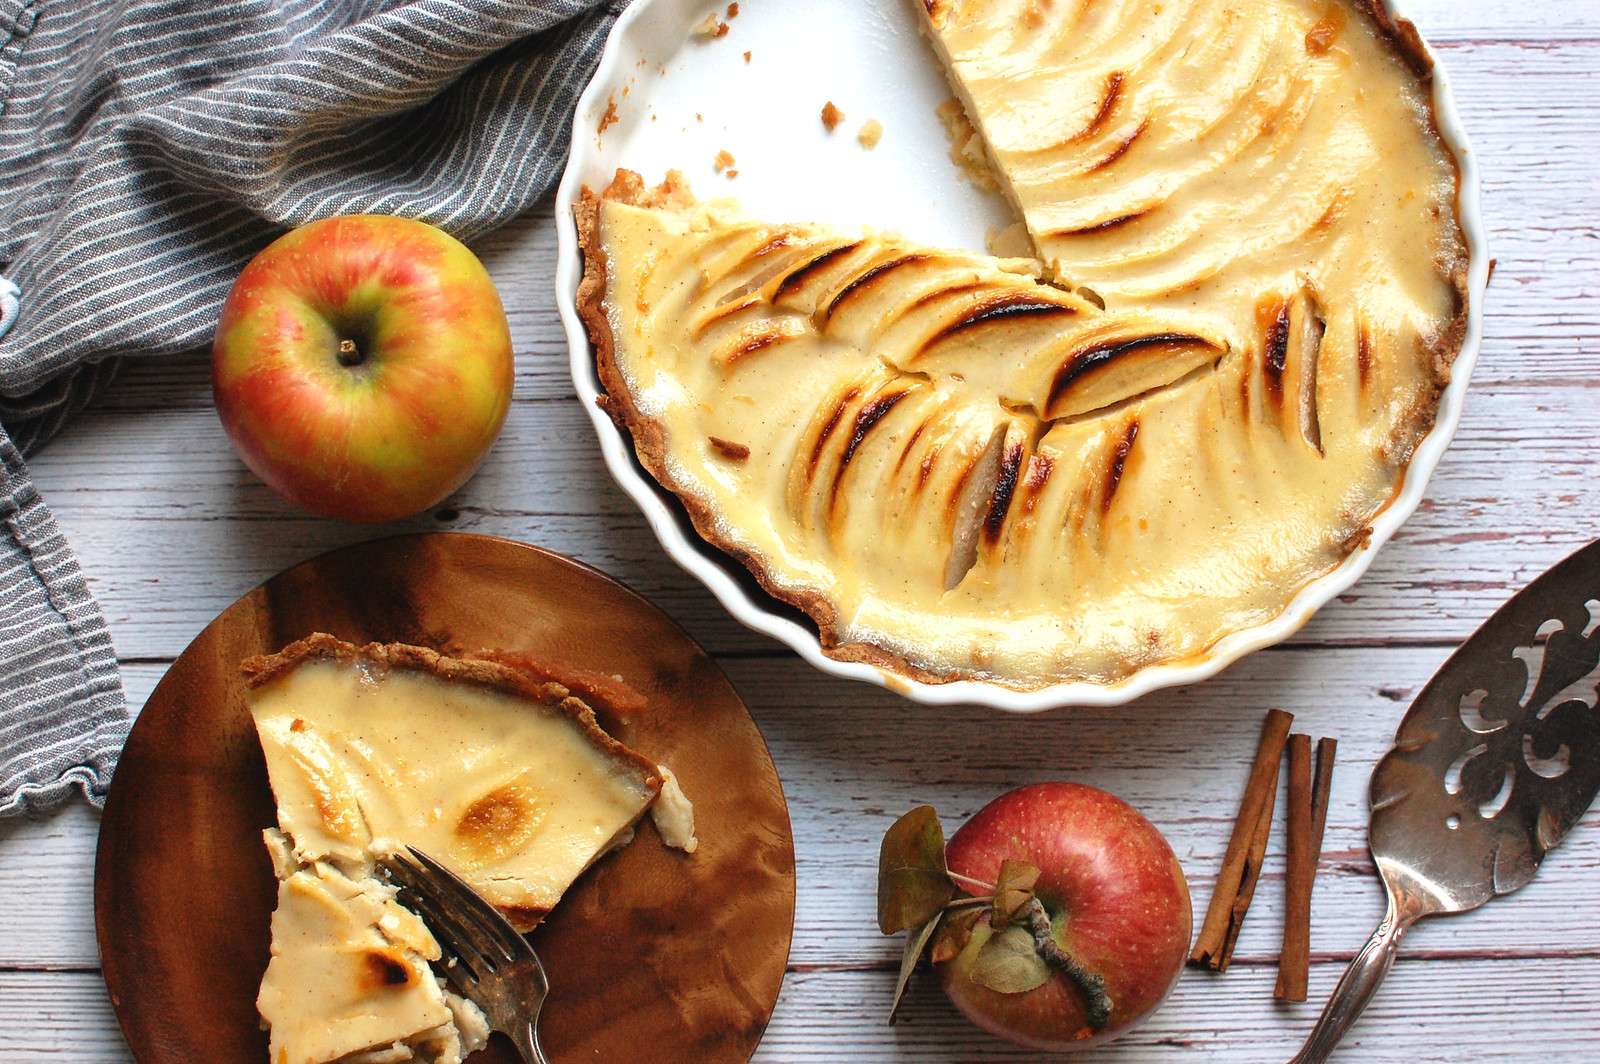
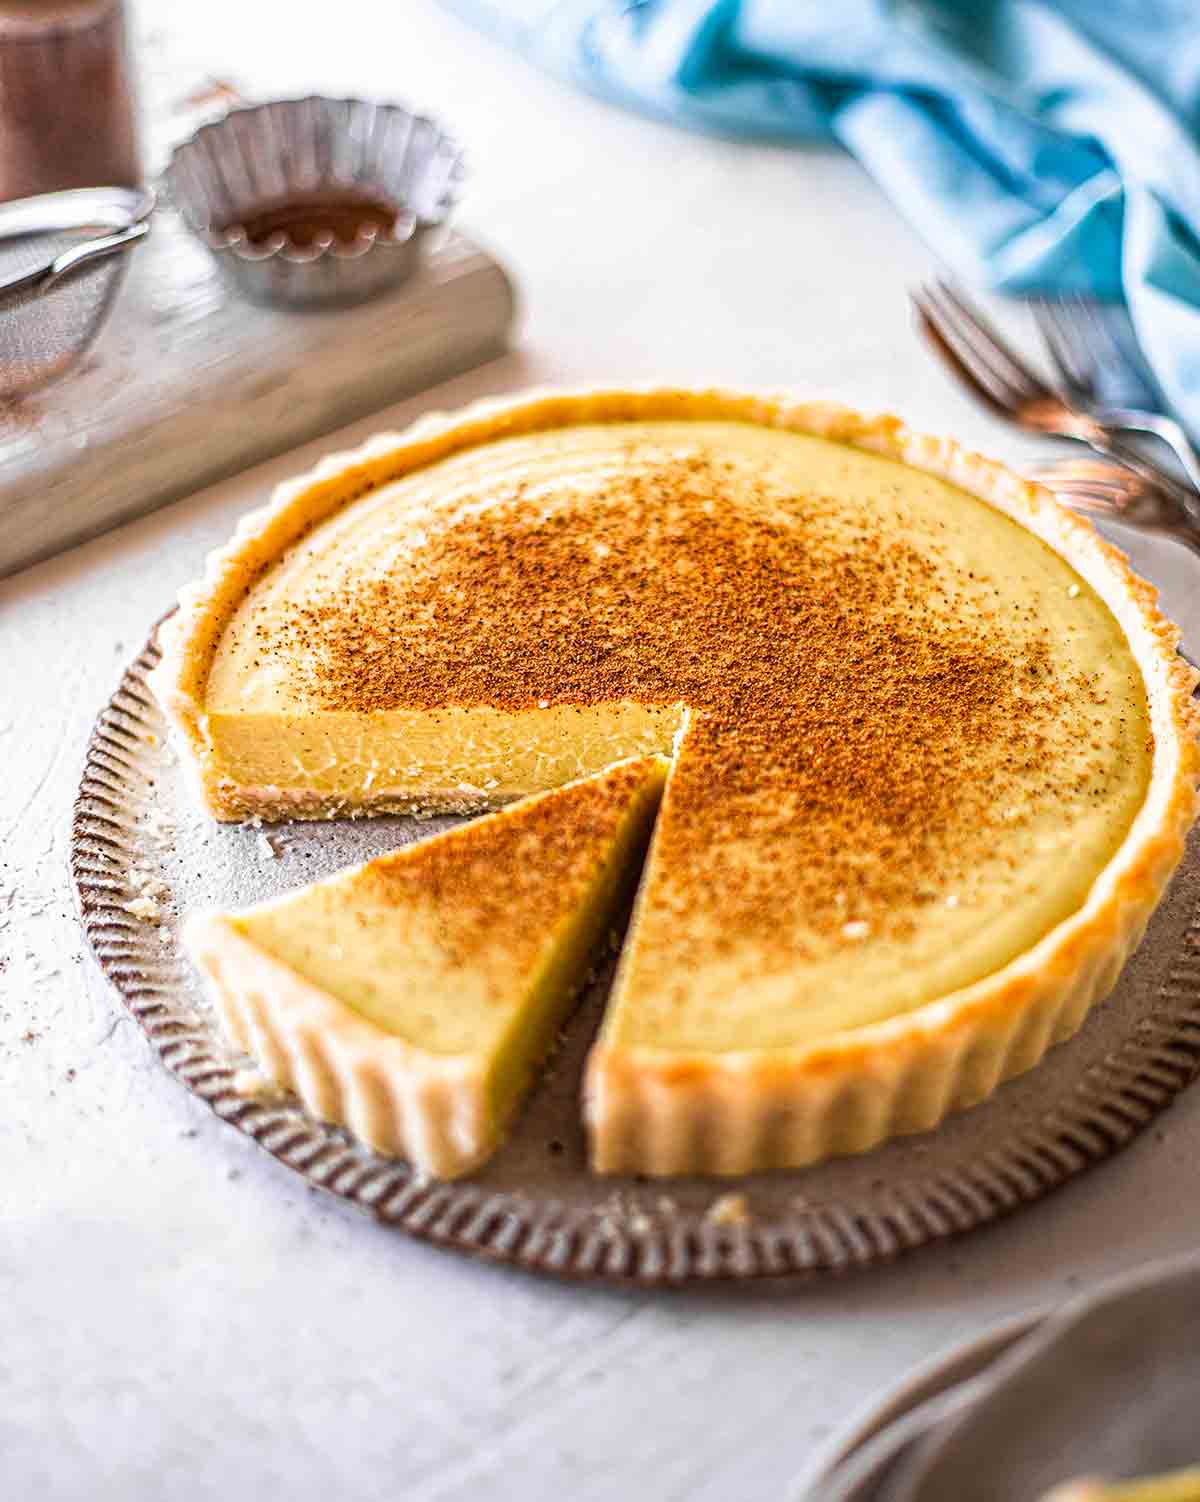
Apple Custard Tart
Ingredients
Equipment
Method
- Powder the granulated sugar in a blender. In a large mixing bowl, mix the flour and powdered sugar together.
- Add the cold butter. Using a pastry blender or fork, rub the butter into the flour/sugar mixture until it starts to resemble breadcrumbs.
- Add half of the whisked egg and stir until the mixture more or less comes together into a dough.
- Wrap the dough in cling wrap and refrigerate for 30 minutes.
- Keep the other half of the whisked egg aside to be used later as egg wash.
- Whisk all ingredients gently together until the sugar is almost dissolved. Set aside.
- Preheat the oven to 190 C. Grease a 7 inch tart pan or springform pan with butter.
- Press the chilled dough evenly into the greased pan
- If you’re using a springform pan, make sure that the sides of the tart shell are uniformly tall (about 1 to 1.5 inch should be enough).
- Line the inside of the pan with a piece of aluminium foil that is large enough to cover the bottom and sides of the pan. Scrunching up the foil beforehand will make it easier to lay it inside the tart pan. Fill the foil with pie weights or raw rice/beans.
- Bake for 20 minutes. After 20 minutes, take the pan out of the oven and remove the aluminium foil/pie weights setup.
- Mix 1 tbsp water with the leftover egg from step 1 and brush this on the insides and edges of the tart shell.
- Bake the tart shell for a further 10 minutes. Remove from the oven and let cool completely.
- Lower the oven temperature to 175 C
- Arrange the apple slices in the tart shell
- Run the custard through a fine mesh sieve to remove air bubbles.
- Gently pour this filling over the apple slices.
- Mix together the ingredients under topping and sprinkle over the custard
- Bake for 20 to 25 minutes until the custard looks almost set (there will still be a slight jiggle when you shake the pan)
- You can serve the tart while still warm, but it tastes best when chilled for a few hours.
Video
Notes
- This recipe combines the richness of a creamy custard filling with the comforting sweetness of baked apples.
- Opt for a buttery, flaky crust to complement the custard and apples beautifully.
- Experiment with apple varieties – from crisp Granny Smith to sweet Honeycrisp – for varying levels of tartness and sweetness.
Tips and tricks
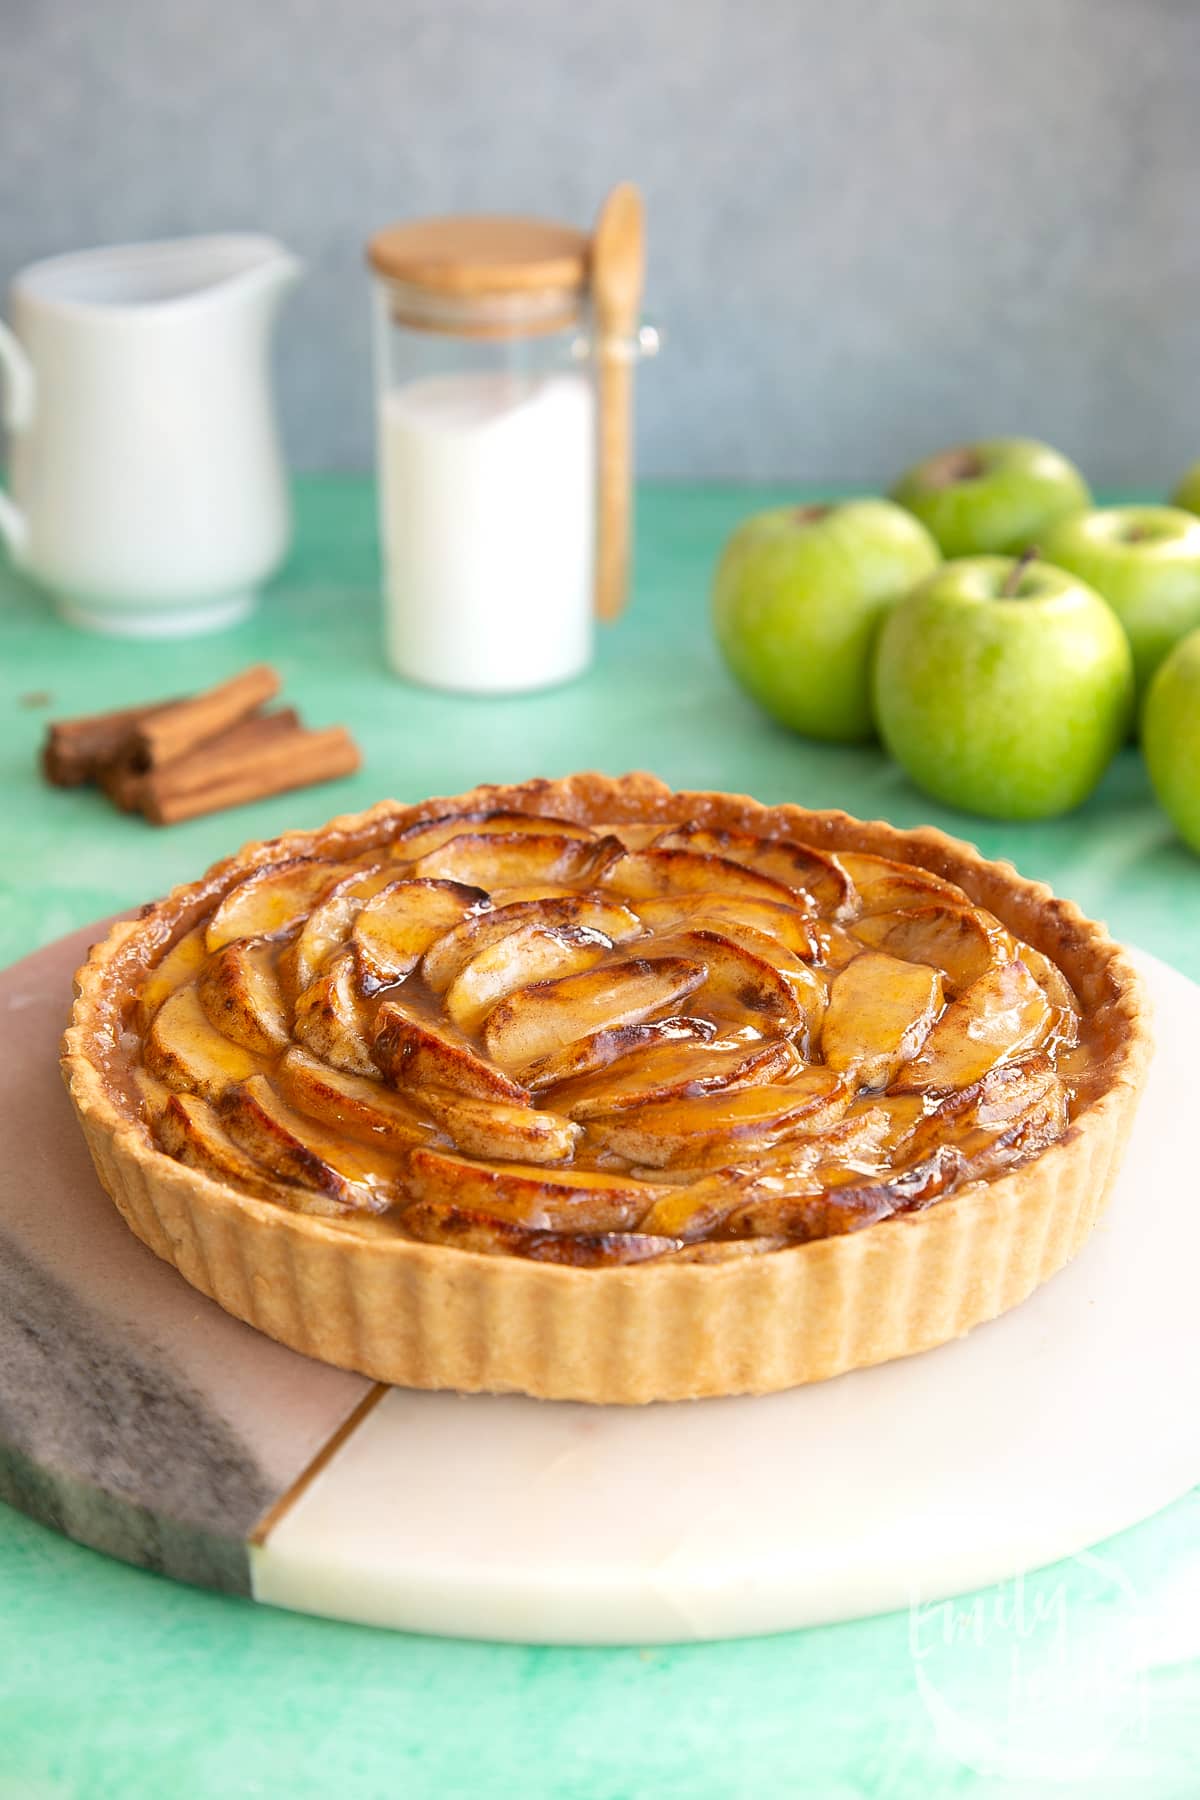
- Choose the Right Apples: Opt for apples that hold their shape well during baking. Granny Smith, Honeycrisp, and Pink Lady are excellent choices. Their balance of sweetness and tartness adds depth to the tart.
- Prevent Overcooking: To prevent overcooking the custard and apples, partially pre-cook the apples before arranging them on the tart. This ensures they’re tender but not mushy when the tart is done.
- Blind Bake the Crust: Blind bake the pie crust before adding the custard and apples. This prevents a soggy bottom and helps the crust stay flaky and crisp.
- Layering Technique: Arrange the apple slices in a visually appealing pattern. Start from the outer edge and work your way inward in overlapping circles. This not only looks stunning but ensures even distribution of flavor.
- Custard Consistency: Achieve a silky custard by tempering the eggs with a bit of the warm milk mixture before combining them. This prevents curdling and results in a smooth filling.
- Flavor Infusion: Infuse the custard with extra flavor by steeping the milk with cinnamon sticks or vanilla beans before using it in the recipe. Strain the milk before adding it to the custard mixture.
- Brush with Apricot Glaze: After baking, brush the apple slices with a thin layer of warmed apricot jam. This adds a glossy finish and enhances the overall presentation.
- Play with Spices: Experiment with spices like nutmeg, allspice, or cardamom in your custard for a unique twist. These spices add warmth and complexity to the flavor profile.
- Temperature Control: Bake the tart in a preheated oven at the specified temperature. A too-hot oven can cause the custard to curdle or the crust to burn.
- Resting Time: Allow the tart to rest for about 15-20 minutes after baking. This helps the custard set properly and makes slicing and serving easier.
Serving suggestions
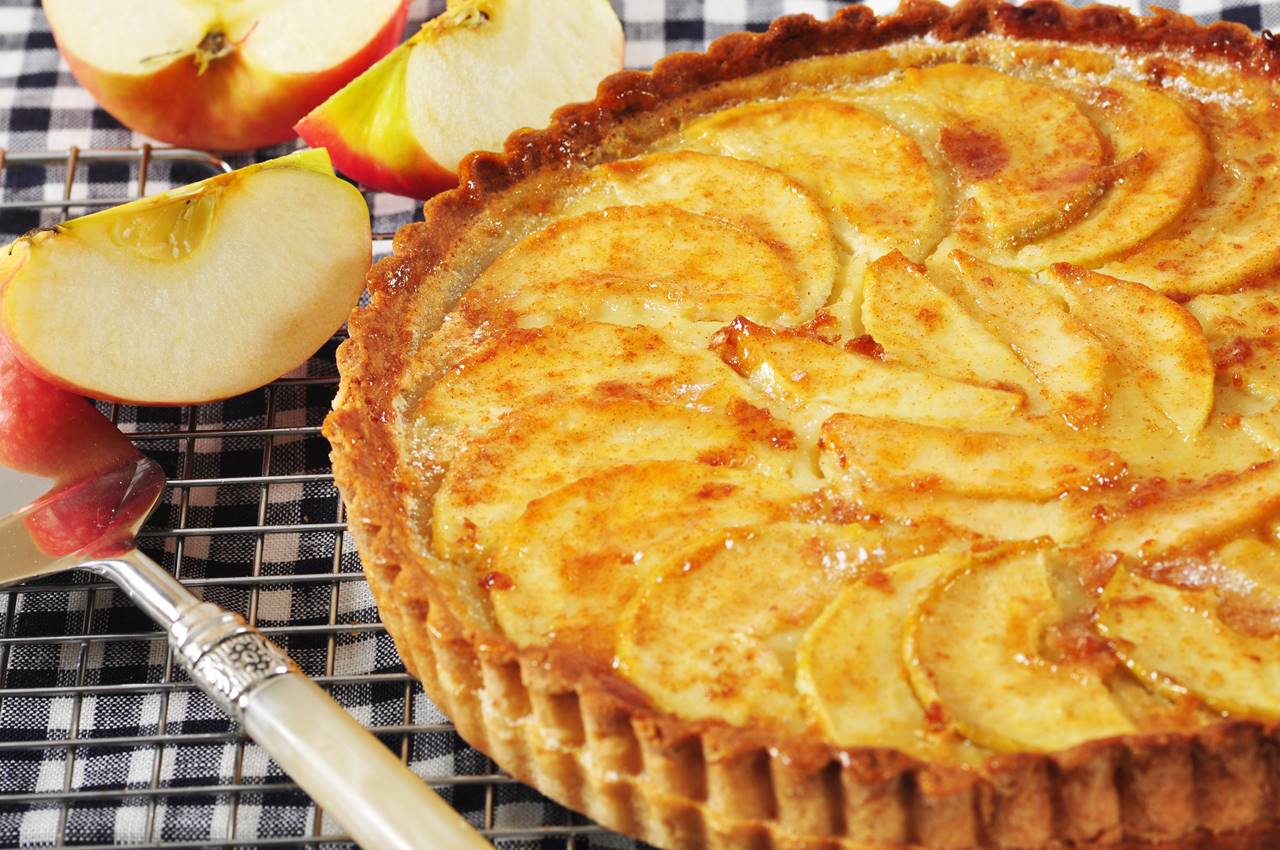
- Family Gathering Dessert: Serve your Apple Custard Tart as the centerpiece of a family gathering or holiday celebration. Its comforting flavors and elegant presentation make it a perfect finale to a special meal.
- Tea Time Delight: Enjoy a slice of this tart with a cup of hot tea or coffee. The combination of the tart’s sweetness and warm beverage creates a cozy and relaxing experience.
- Brunch Extravaganza: Impress your brunch guests by offering slices of Apple Custard Tart alongside savory dishes. The tart’s sweetness balances out the savory flavors and adds a touch of sophistication to the meal.
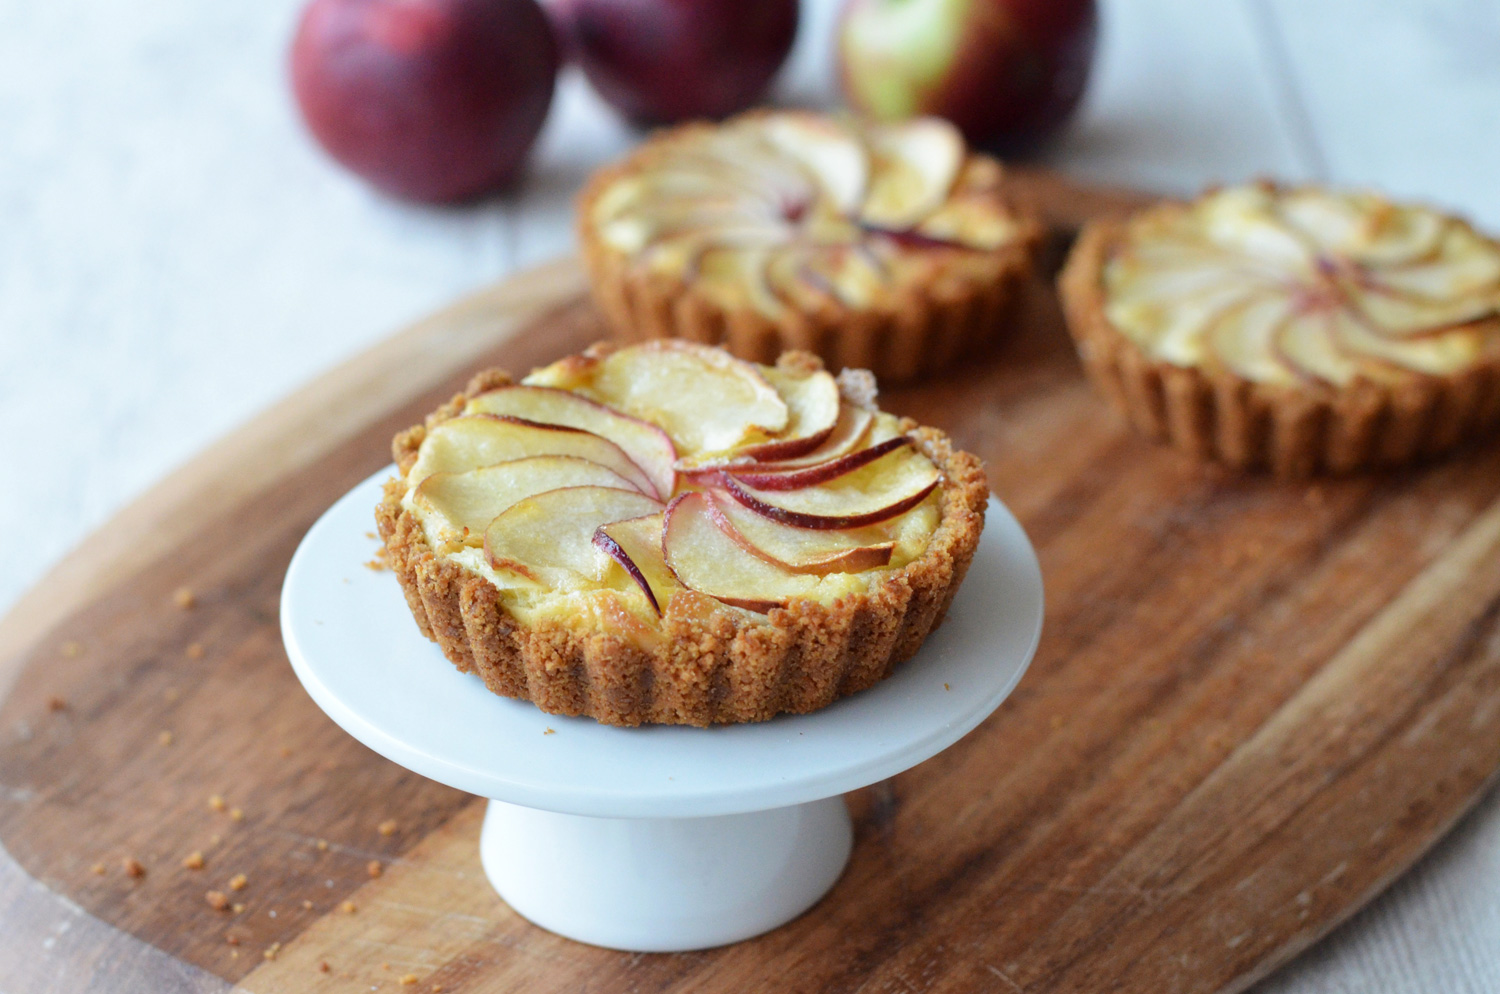
- Dinner Party Elegance: Elevate your dinner parties with individual mini Apple Custard Tarts. These personal-sized desserts are both visually appealing and a delightful way to end a memorable evening.
- Picnic Treat: Pack slices of the tart for a charming picnic dessert. Enjoy it outdoors amidst nature’s beauty, and relish the contrast between the crispy crust and the soft custard and apples.
- Afternoon Snack: Indulge in a slice of Apple Custard Tart as an afternoon pick-me-up. Its comforting taste is sure to brighten your day.
- Special Occasions: Present the tart at weddings, anniversaries, or milestone celebrations. Its timeless elegance will suit any grand occasion.
- Gift of Delight: Bake this tart as a thoughtful gift for a friend or loved one. Wrap it beautifully and include a heartfelt note to show how much you care.
- Seasonal Showcase: Highlight the tart’s connection to the fall season by serving it during harvest-themed events. Its apple-infused goodness captures the essence of autumn.
- Holiday Dessert: Make the tart a staple at your holiday dessert table. The combination of apples and custard embodies the warmth and joy of festive occasions.
FAQs of Apple Custard Tart
- Can I make this tart ahead of time? Absolutely! Bake and assemble the tart a day before serving. Store it in the refrigerator, and let it come to room temperature or warm slightly before enjoying. The flavors meld together even more, enhancing the experience.
- Can I use pre-made pie crust? Certainly, using a quality pre-made pie crust can save time. However, crafting your own flaky crust adds a personal touch to the dessert.
- How do I prevent a soggy crust? To prevent a soggy crust, blind bake it before adding the custard and apples. This creates a barrier and maintains the tart’s integrity even after the filling is added.
- What’s the ideal thickness for apple slices? Slice the apples uniformly to about 1/8-inch thickness. This ensures even cooking and a visually pleasing presentation.
- How should I store leftovers? If you have any leftovers (which is rare!), cover the tart with plastic wrap or foil and store it in the refrigerator. Gently reheat individual slices in the oven to regain the freshly baked texture.
Elevate your dessert experience with our exquisite Apple Custard Tart recipe. From the silky custard to the tender apple slices, discover how to create this masterpiece in your own kitchen. Get ready to impress and satisfy your taste buds!

