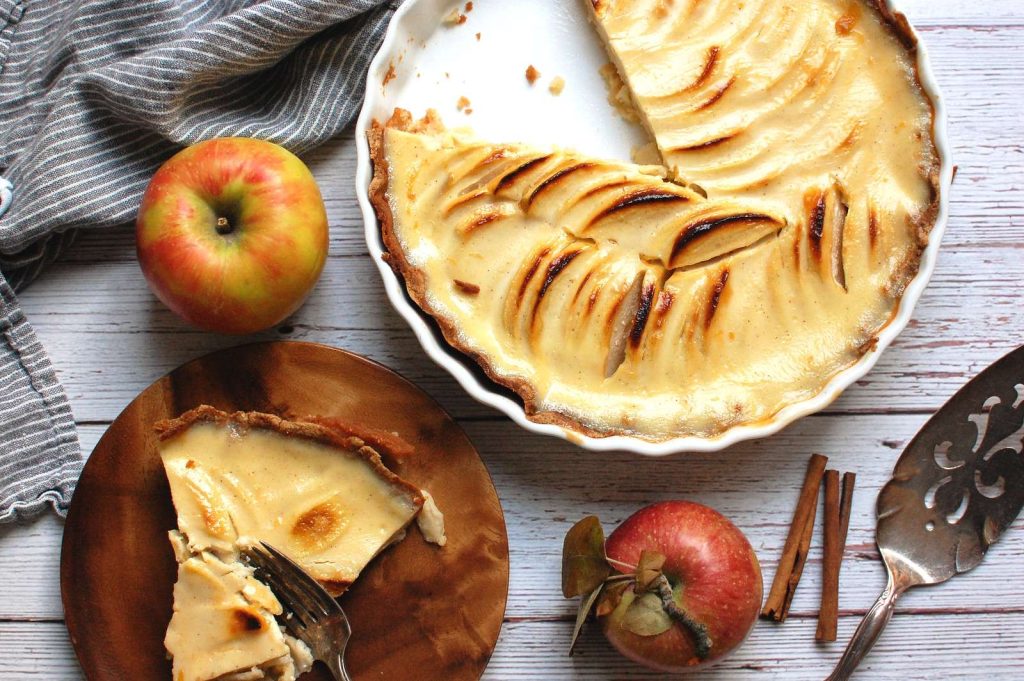
Isn’t apple pie one of the greatest desserts ever? Sweet, cinnamon-flavoured pieces of apple wrapped in a buttery, flaky pastry – just describing it makes me feel happy inside. But if there’s one thing I don’t like about it, it is the fact that it’s not the quickest dessert to make, especially if you’re making it from scratch like I always do. It takes at least a few hours of rolling, folding, chilling and resting the dough in order to get that perfect flaky crust.
So what do you do when you want to have apple pie but don’t want to wait for hours to do so? Make this bar version, of course! They have the same warm, cinnamon flavour that apple pie does, except they are so much easier to make. It takes just a little over an hour to make these, and that includes prep time.
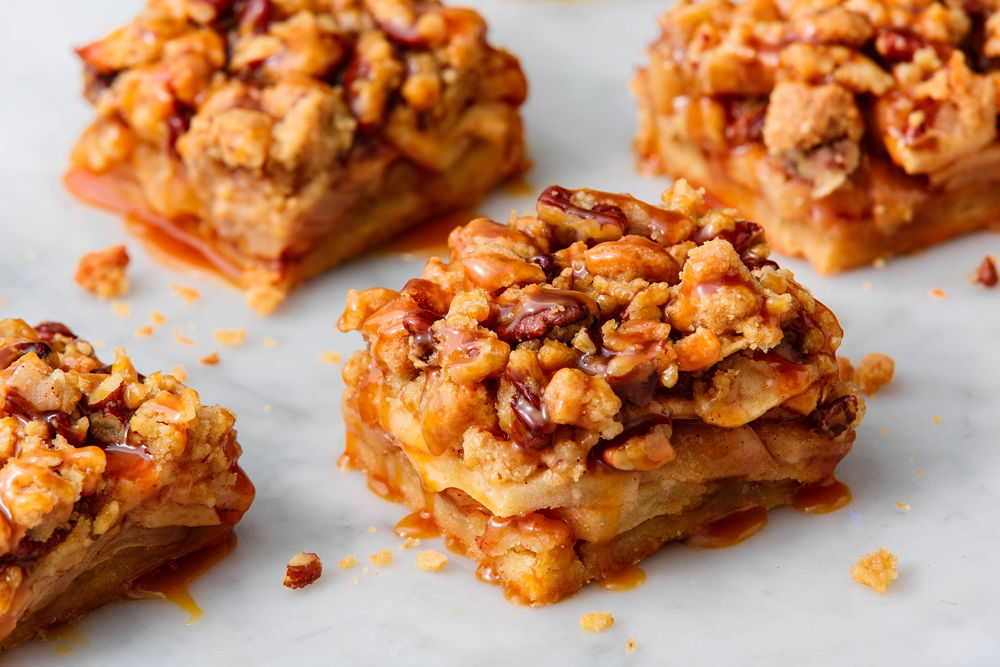
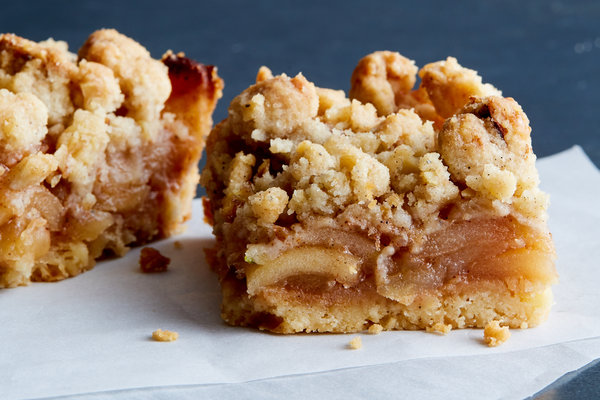
Apple Pie Bars
Ingredients
Equipment
Method
- Preheat oven to 180 C.
- Prepare the filling by mixing all ingredients together. Set aside.
- Prepare the topping by mixing all ingredients together with a fork until they form small clumps.
- For the base, combine the cold butter, flour and sugar in a bowl. With a fork or pastry blender, mix everything together all while breaking the cubes of butter into small pea sized pieces. Add the water 1 tablespoon at a time and stir with a spoon until the mixture comes together into a dough. Don’t add more water than is necessary.
- Line a 6 inch square baking tin with parchment paper. Press the base dough evenly on the bottom of the pan. Spread the filling over the base and sprinkle the crumble topping over it.
- Place the baking pan on the medium rack and bake for 45 minutes.
- After 45 minutes, place the baking pan on the top rack and bake for 15 minutes so that the crumb topping gets nicely browned.
- Allow to cool completely.
- For the glaze, mix the powdered sugar and water until a thick paste forms. Use a fork or spoon to drizzle the glaze over the cooled bars. Cut into squares and serve.
Video
Notes
- These Apple Pie Bars offer all the goodness of a classic apple pie, but in handheld form.
- Use a mix of tart and sweet apples for a balanced flavor profile in the filling.
- A hint of cinnamon and nutmeg enhances the cozy fall vibes.
Fascinating Facts About Apple Pie Bars
:max_bytes(150000):strip_icc()/200803-xl-apple-bar-2000-2332b35c9d984c65a6e733f9127cd7b0.jpg)
- Heritage of Comfort: The concept of apple pie dates back to medieval times, where early recipes included a mixture of apples, figs, raisins, and pears. Apple Pie Bars are a modern twist on this beloved classic.
- Colonial American Delight: Apple pies were a staple of American cuisine during colonial times. The phrase “as American as apple pie” reflects the enduring popularity of this dessert.
- Portable Perfection: Apple Pie Bars offer the convenience of a handheld dessert, making them an excellent choice for picnics, parties, and on-the-go treats.
- Homemade Versatility: While Apple Pie Bars often use a traditional shortcrust pastry, creative bakers experiment with alternative crusts, including graham cracker, oatmeal, and even puff pastry.
- Culinary Chemistry: The combination of apples and cinnamon in Apple Pie Bars isn’t just about flavor. Cinnamon contains a natural compound called cinnamaldehyde, which enhances the perception of sweetness without adding sugar.
- Endless Variations: Just like traditional apple pie, Apple Pie Bars can be customized with various apple varieties. Some bars even include a layer of caramel or streusel topping for added decadence.
Serving Suggestions
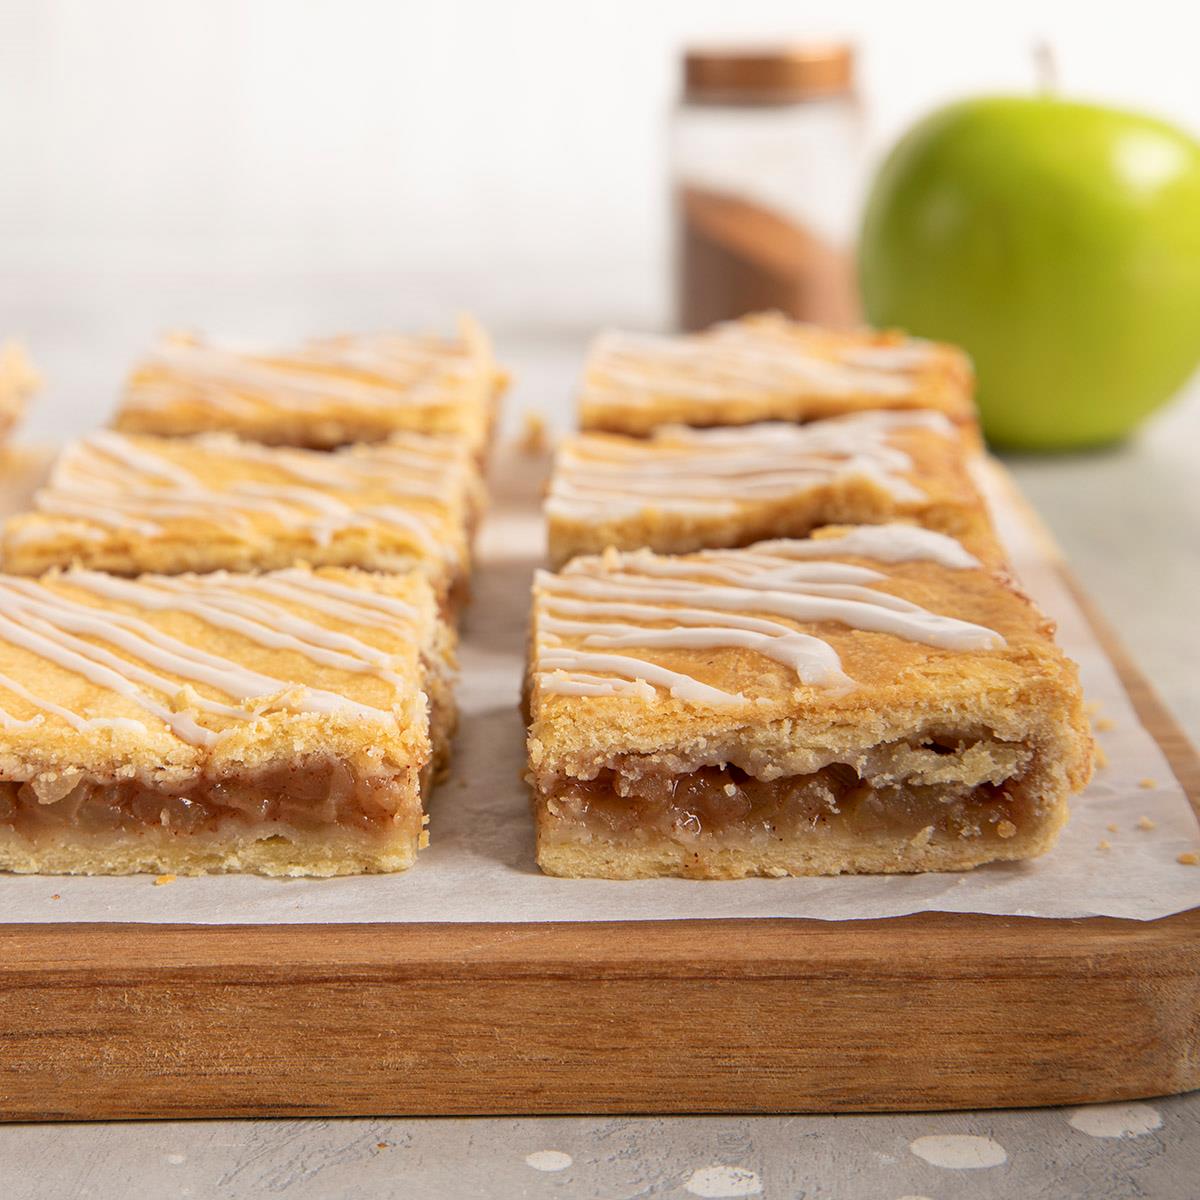
- Family Gatherings: These Apple Pie Bars are a heartwarming addition to family gatherings. Serve them as a dessert centerpiece that brings generations together over shared memories and delicious flavors.
- Autumn Picnics: Pack these bars for an outdoor adventure to relish the essence of fall. The handheld nature of Apple Pie Bars makes them perfect for enjoying nature’s beauty while indulging in a sweet treat.
- Tea Time Pleasure: Elevate your afternoon tea with Apple Pie Bars. Their comforting flavors and manageable size make them a delightful pairing with your favorite brew.
- Holiday Dessert Table: Add a touch of warmth and nostalgia to your holiday dessert spread. Apple Pie Bars embody the spirit of the season and make any celebration more memorable.
- Weekend Brunch: Surprise your brunch guests with Apple Pie Bars as a sweet treat. The blend of apple, cinnamon, and buttery crust complements savory brunch dishes beautifully.
FAQs of Apple Pie Bars
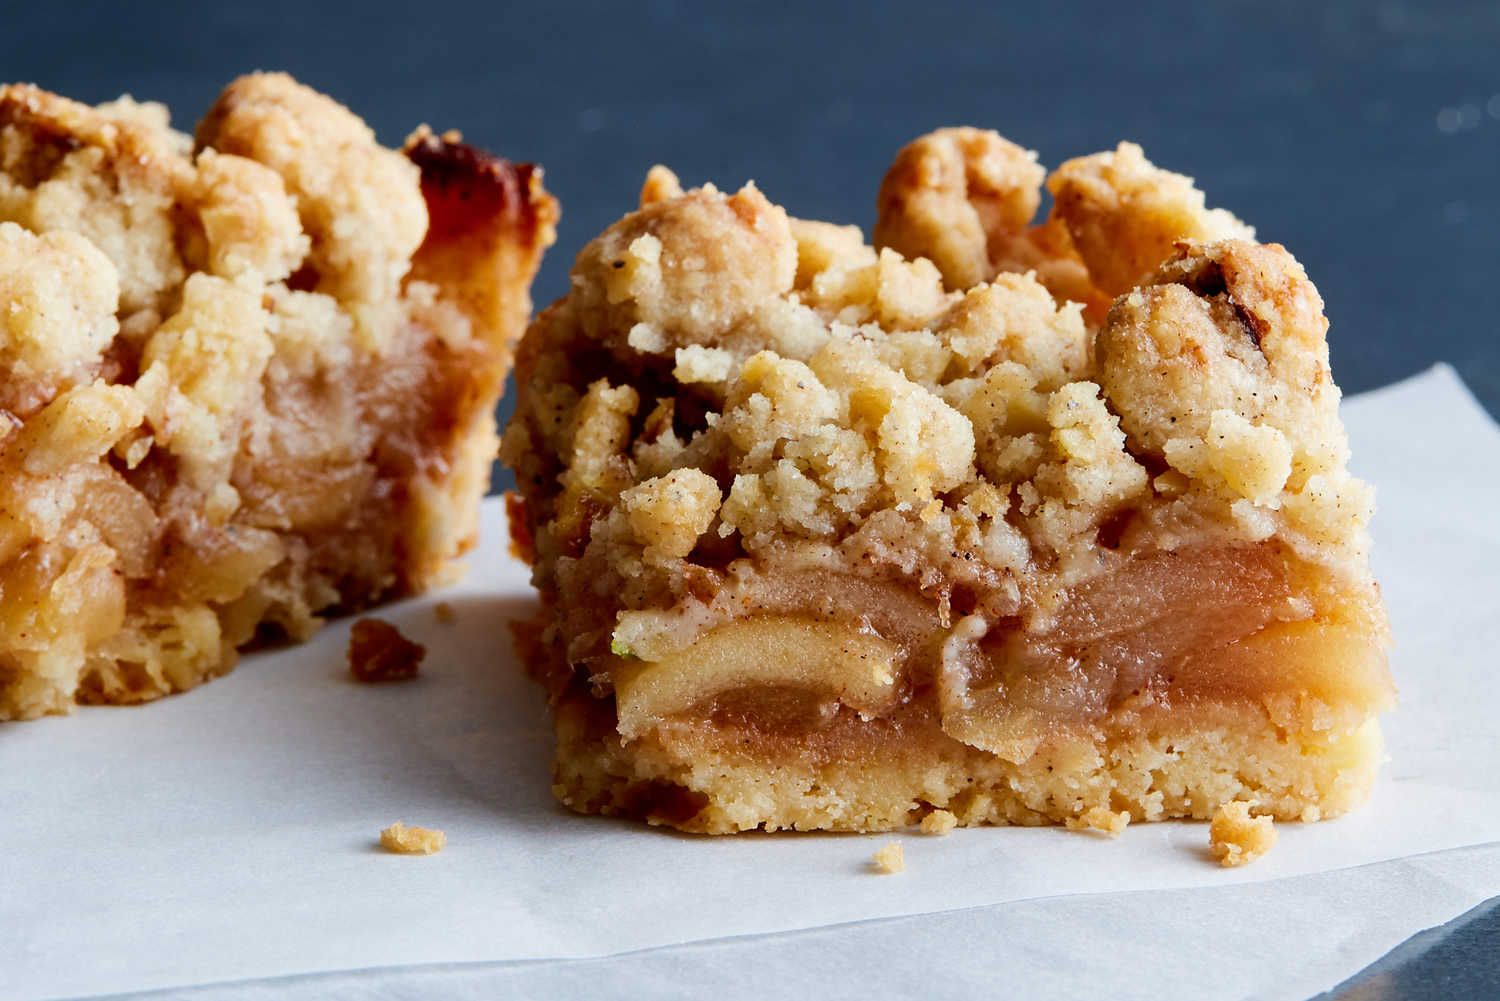
- Can I use store-bought pie crust? Absolutely, store-bought pie crust can be a time-saver. However, making your own crust from scratch adds a personal touch and extra flakiness.
- Can I freeze Apple Pie Bars? Yes, you can freeze them! After baking and cooling, wrap individual bars tightly in plastic wrap, then place in an airtight container or freezer bag. Thaw in the refrigerator or reheat in the oven for a few minutes.
- How do I prevent the crust from getting soggy? To prevent a soggy crust, pre-bake it slightly before adding the apple filling. This helps create a barrier between the filling and the crust.
- Can I use different types of apples? Absolutely! Experiment with different apple varieties to find your favorite combination. Mixing sweet and tart apples creates a well-balanced filling.
- How should I store leftover bars? Store leftover Apple Pie Bars in an airtight container at room temperature for up to two days. If you need to store them longer, refrigerate to maintain freshness.
